
How to Install ESP32 Board in Arduino IDE: Step-by-Step Guide for Beginners in Pakistan
What is the ESP32, and why do you need to install it?
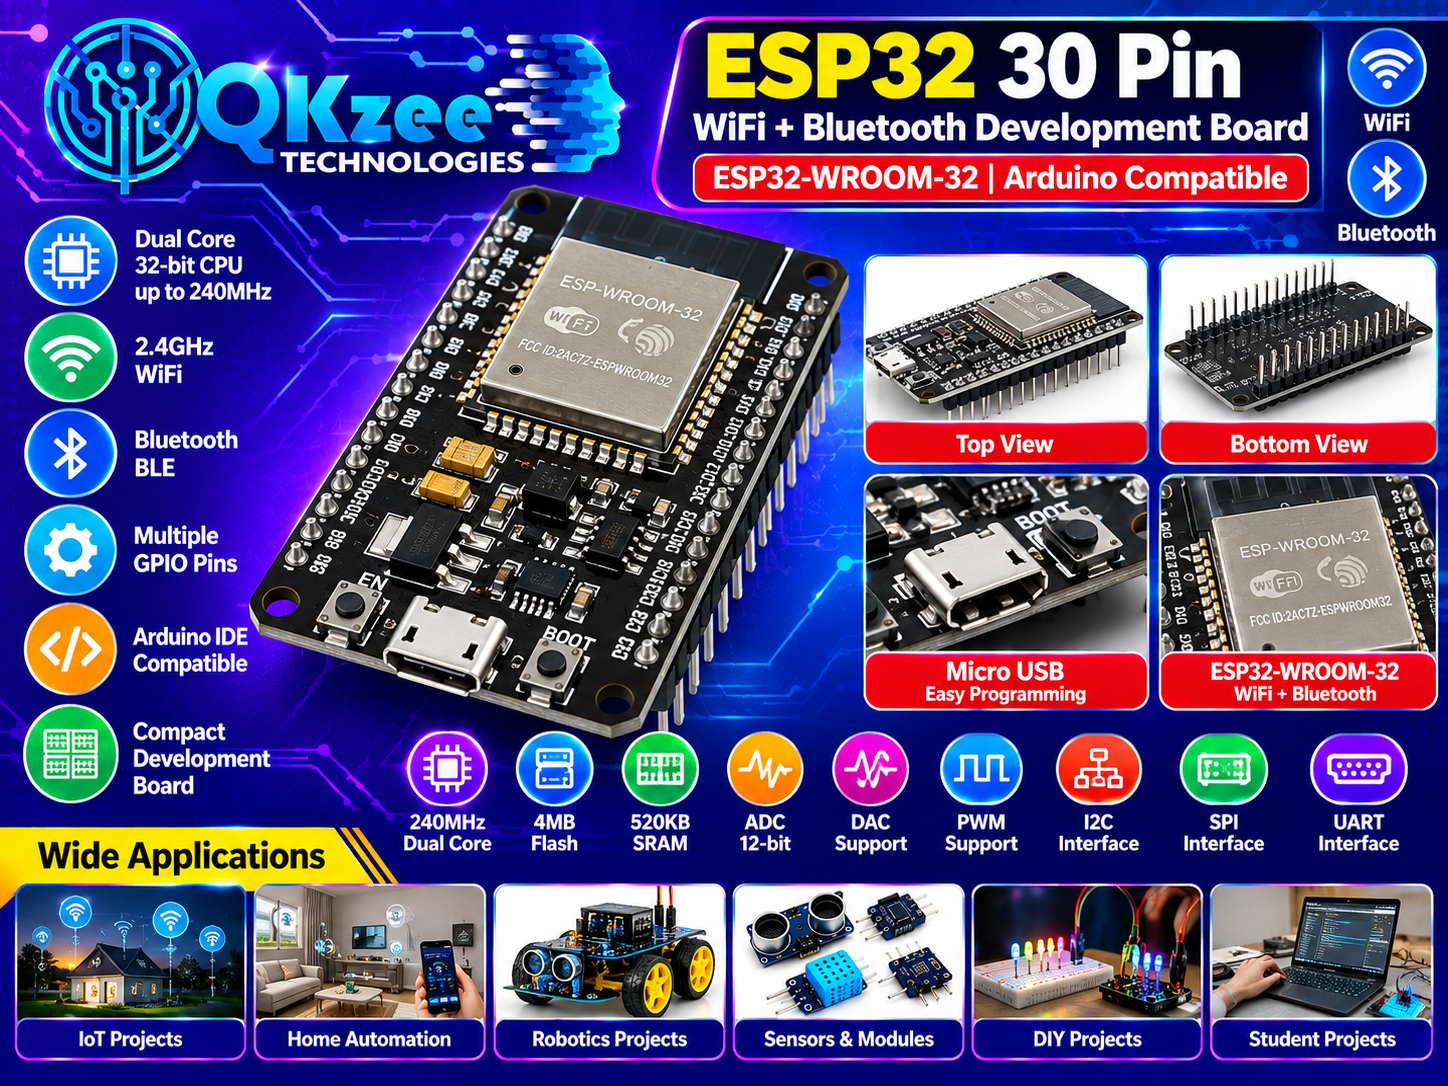
The ESP32 is a low-cost microcontroller with built-in WiFi and Bluetooth, a dual-core processor, and plenty of input/output pins. It is the most popular board for IoT projects, smart-home systems, and final-year engineering projects in Pakistan.
Arduino IDE does not know the ESP32 by default. You install it once as a “board package” through the Boards Manager, and after that you can program the ESP32 exactly like an Arduino UNO — same IDE, same language.
This guide uses Arduino IDE 2.x (the current version), matching our other guides. If you have not installed the IDE yet, follow our first guide: How to Download Arduino IDE: Step-by-Step Guide for Students in Pakistan.
Before you start: what you need
- Arduino IDE installed on your computer
- An ESP32 development board, for example the ESP32 30 Pin WiFi + Bluetooth Development Board – ESP32-WROOM-32
- A data USB cable (not a charge-only cable — charge-only cables cannot upload code)
- A computer (Windows, Mac or Linux) with an internet connection (the board package downloads about 50 MB)
Part 1: Install the ESP32 board package
Step 1: Open Preferences
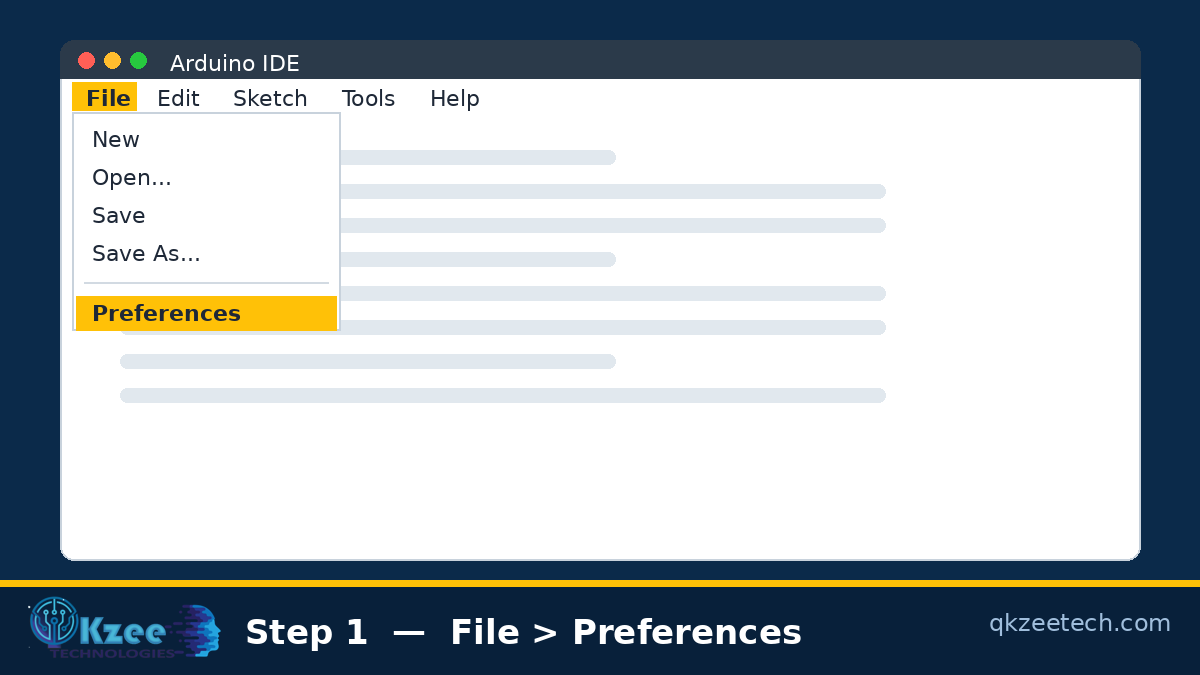
- Open Arduino IDE.
- Go to File > Preferences (or press Ctrl + , on Windows/Linux, Cmd + , on Mac).
Step 2: Add the ESP32 board manager URL
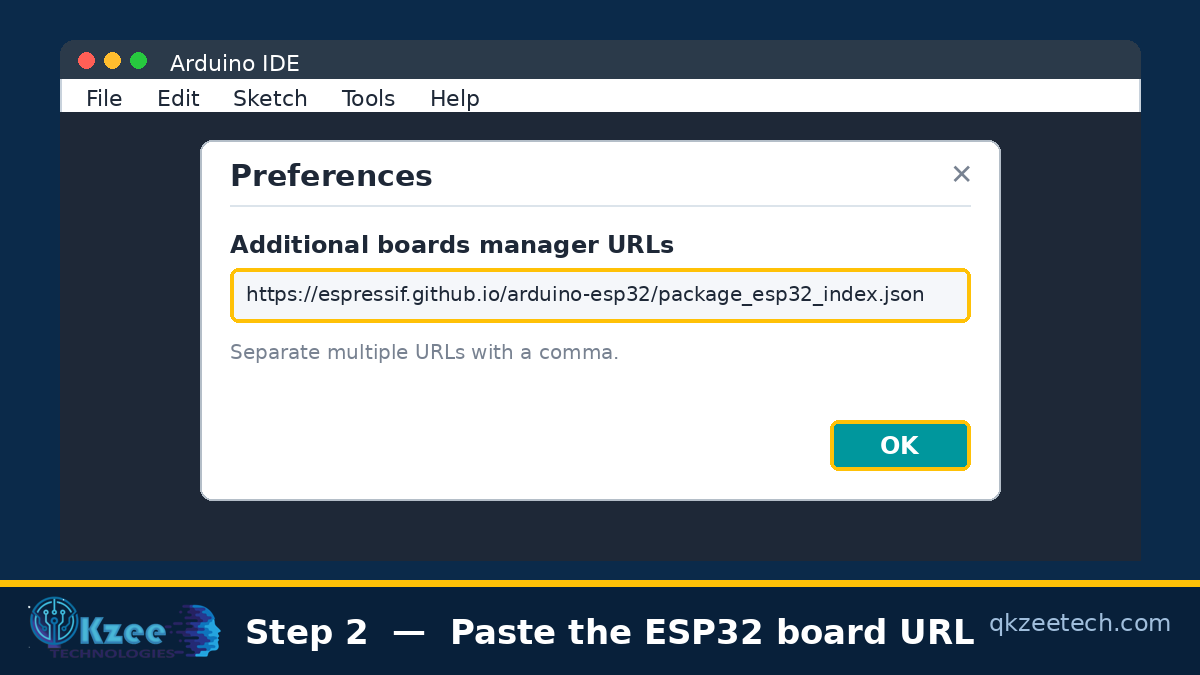
- In the Preferences window, find the field “Additional boards manager URLs”.
- Paste this URL into it:
- Click OK to save.
https://espressif.github.io/arduino-esp32/package_esp32_index.jsonNote: If you already have the ESP8266 board URL in this field, keep it and add the ESP32 URL after a comma, like this:
https://espressif.github.io/arduino-esp32/package_esp32_index.json, http://arduino.esp8266.com/stable/package_esp8266com_index.jsonStep 3: Open the Boards Manager
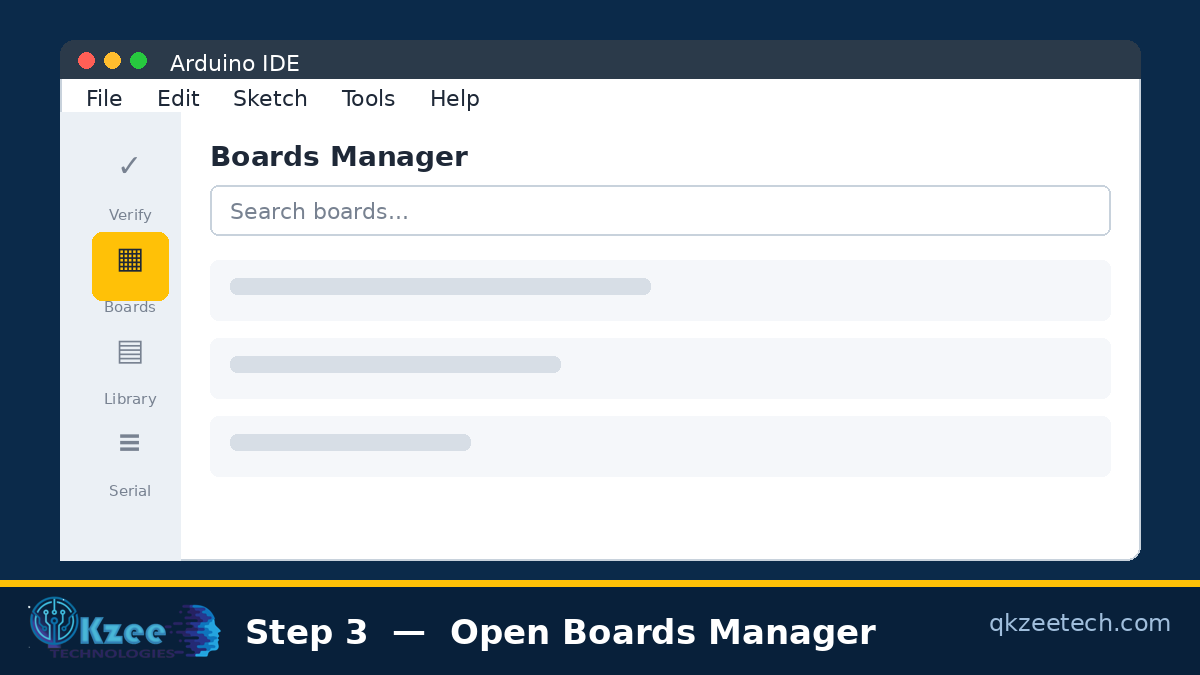
- Click the Boards Manager icon in the left sidebar of Arduino IDE (it looks like a small board).
- Alternatively, use the menu: Tools > Board > Boards Manager.
Step 4: Install the ESP32 package
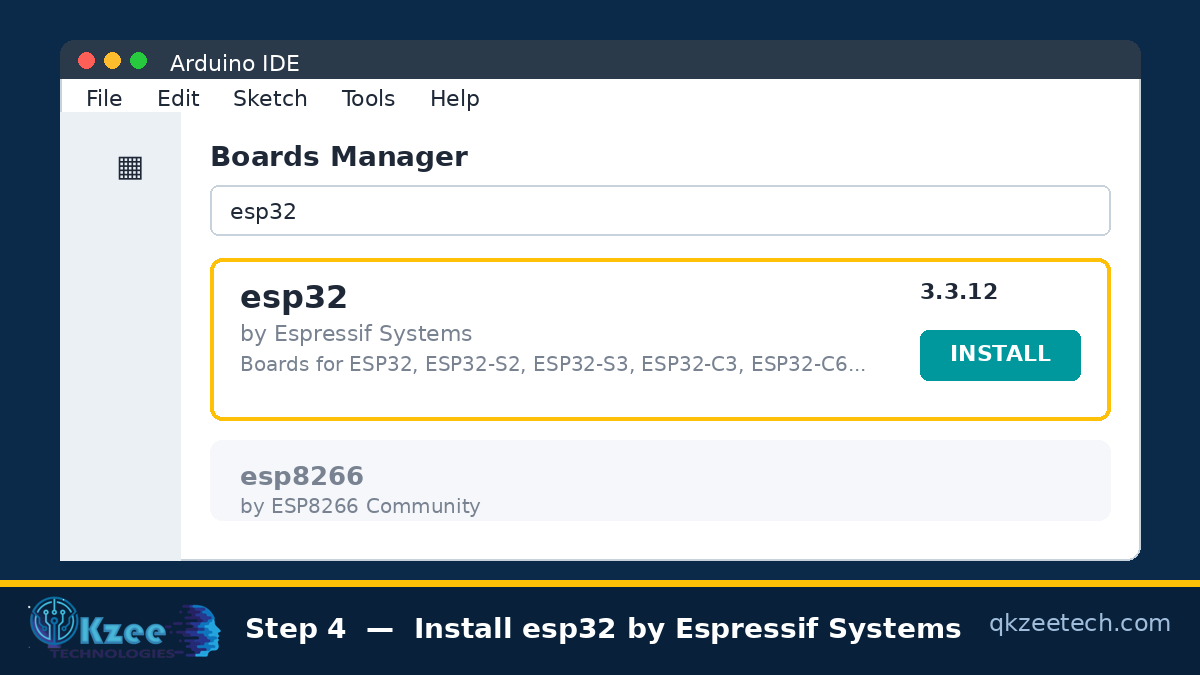
- In the Boards Manager search box, type esp32.
- Find “esp32 by Espressif Systems” in the results and click Install.
- Wait for the download and installation to finish — it is about 50 MB, so on a slow connection it can take a few minutes. Do not close the IDE while it installs.
That is it — the ESP32 board package is now installed in your Arduino IDE.
Part 2: Test the installation with WiFiScan
Step 5: Connect your ESP32 board to the computer
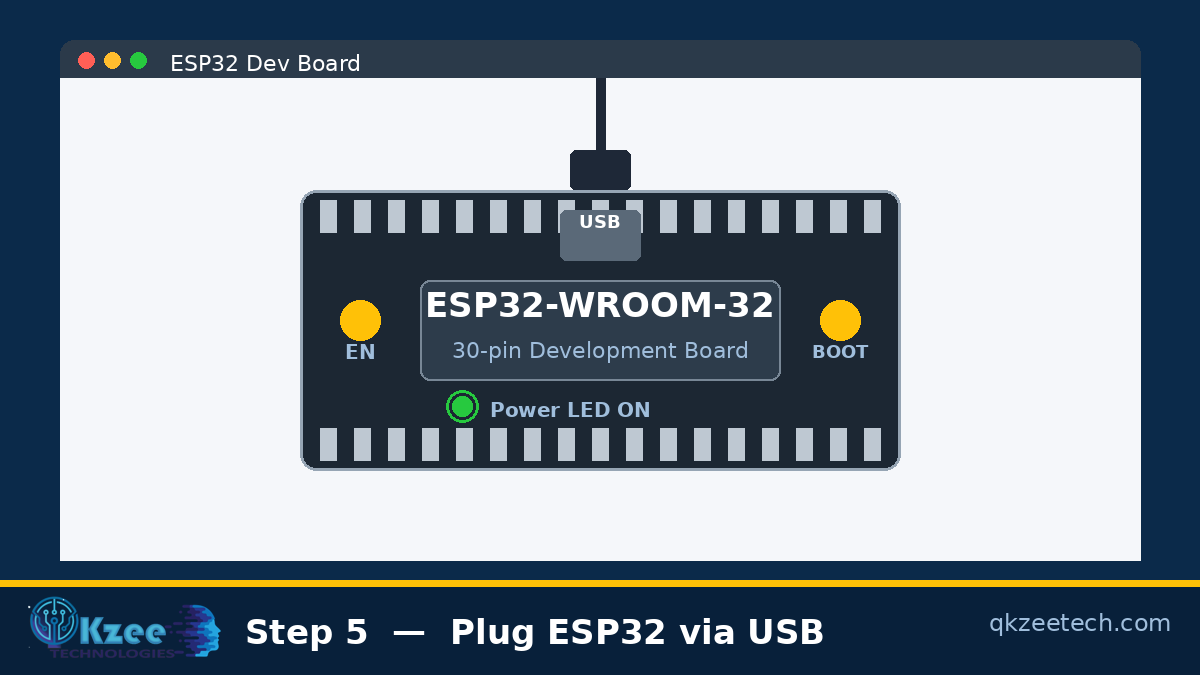
- Connect your ESP32 board to the computer with the USB cable.
- The power LED on the board should light up. If no LED lights up, try another USB port or another cable.
Step 6: Select your board
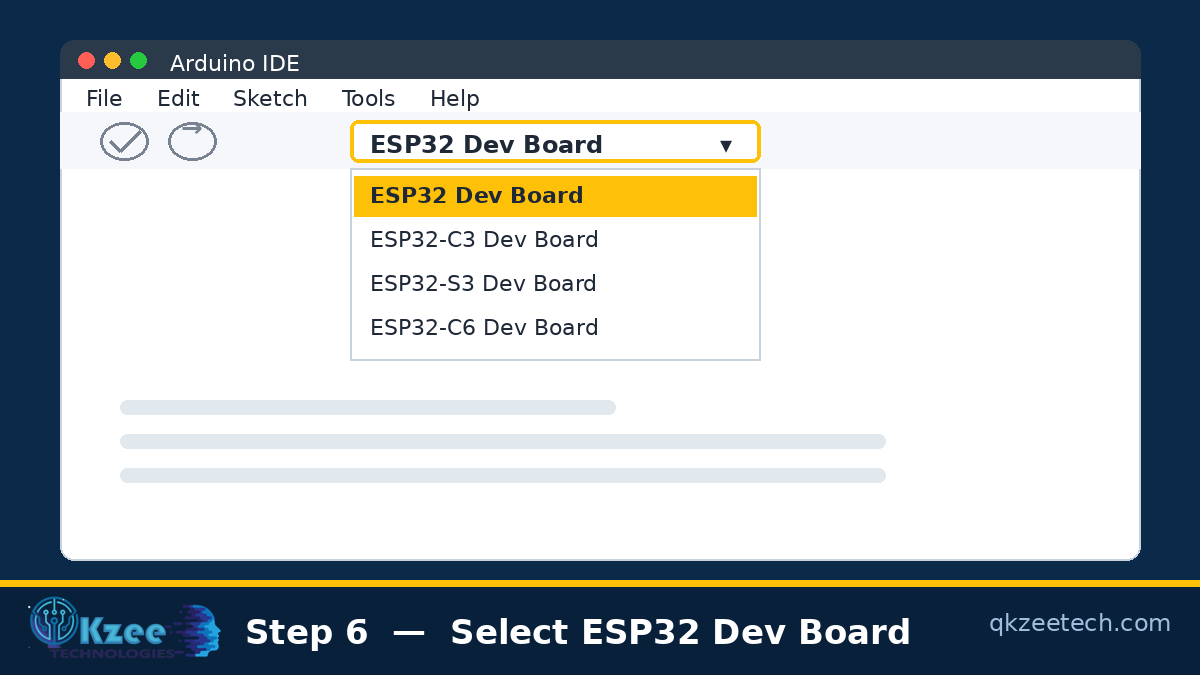
- At the top of the IDE window, click the board selector dropdown (it says Select Board if nothing is selected yet).
- Select ESP32 Dev Board — this is the correct choice for the common 30-pin ESP32-WROOM-32 development board.
- If your board is a different variant, select its matching name instead (for example ESP32-C3 Dev Board or ESP32-S3 Dev Board).
- Alternatively, use the menu: Tools > Board > esp32 and pick your board from the list.
Step 7: Select the port
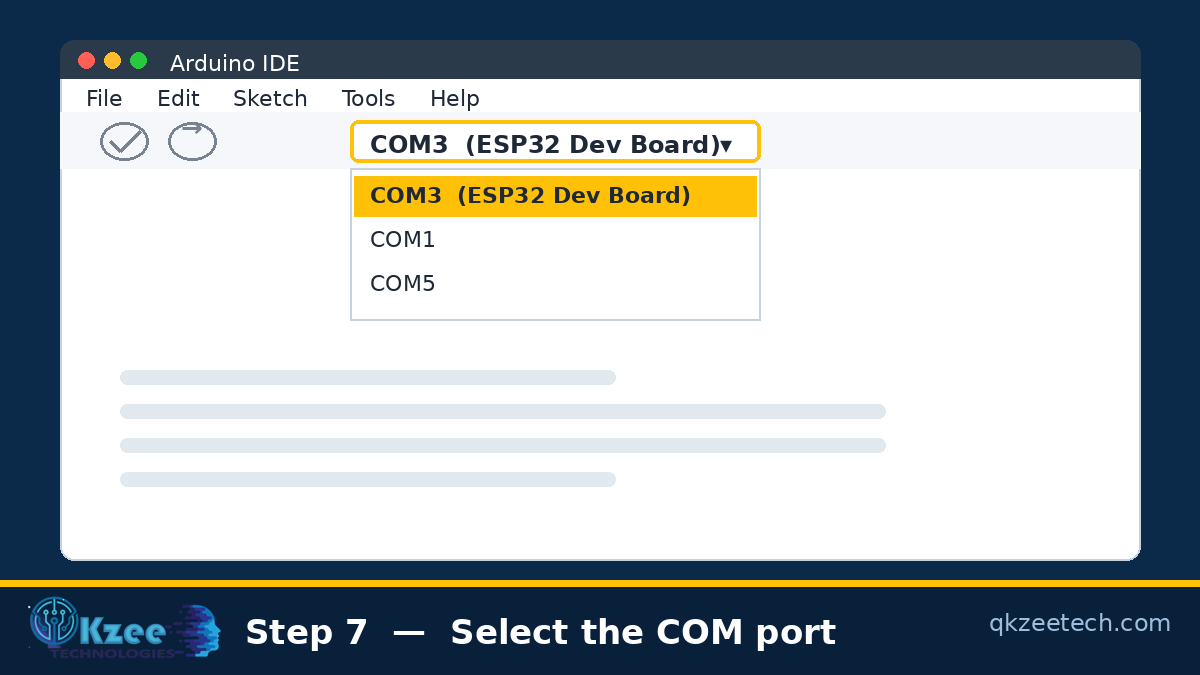
- In the same board selector dropdown, select the port your board is connected to (on Windows it looks like COM3, COM4, etc.).
- Alternatively, use Tools > Port and select your board’s port.
No port showing in the list? Most ESP32 boards use one of two USB chips. If your board uses the CP2102 chip, install the CP210x USB to UART Bridge drivers from Silicon Labs. If your board uses the CH340 chip, install the CH340 driver — see our guide on the NodeMCU ESP8266 CH340 WiFi Board for the driver setup. After installing the driver, unplug the board, plug it back in, and the port will appear. Also check that your cable is a data cable, not charge-only.
Step 8: Open the WiFiScan example
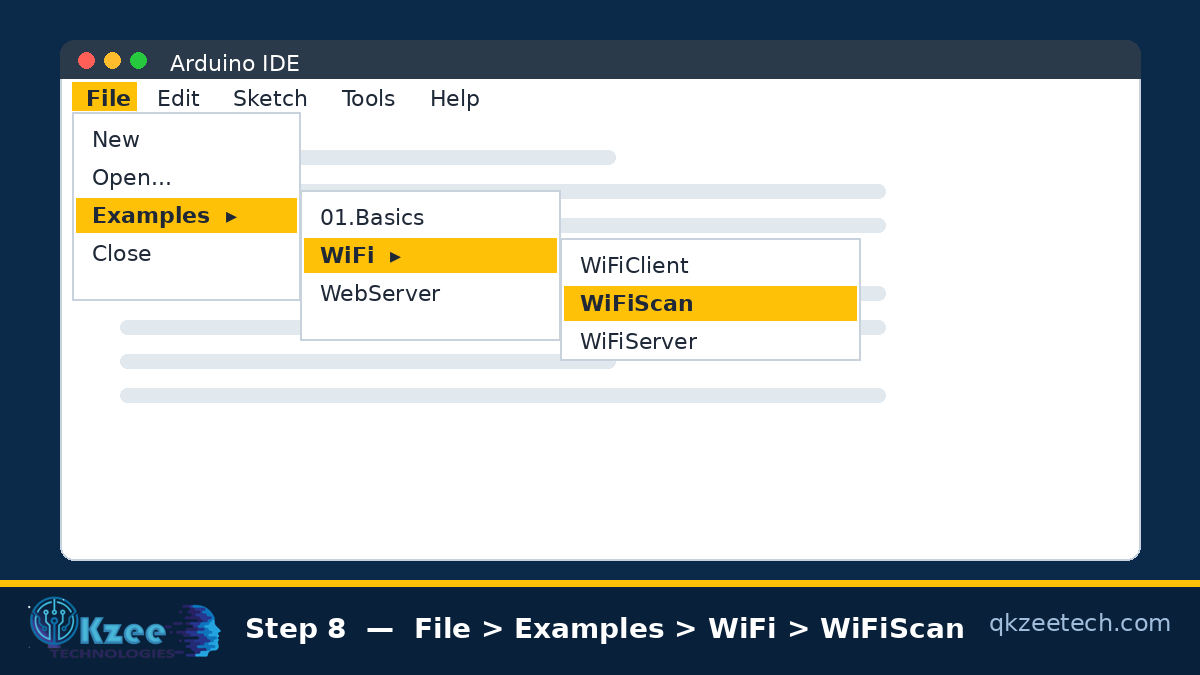
- In Arduino IDE, go to File > Examples > WiFi > WiFiScan.
- A ready-made sketch will open. It scans for WiFi networks around your board and prints them in the Serial Monitor.
Step 9: Upload the sketch to the board
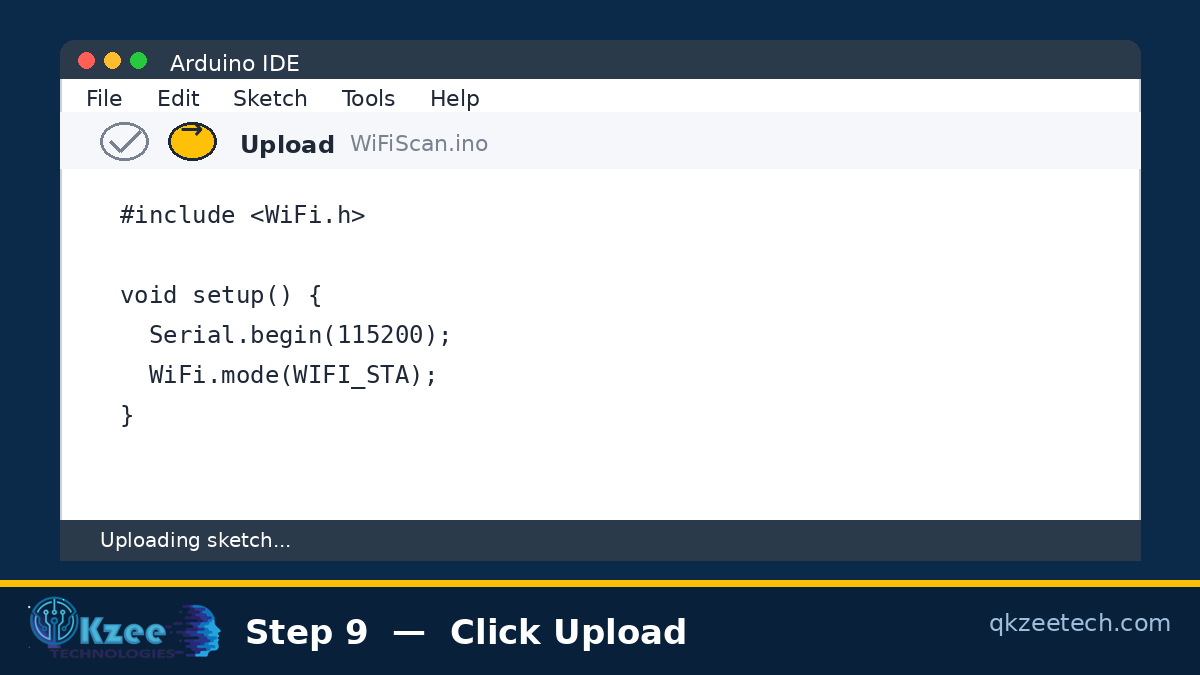
- Click the Upload button (the right-arrow icon at the top left of the IDE).
- The IDE will compile the sketch and then upload it. Wait for “Done uploading” at the bottom of the IDE. Do not unplug the board while uploading is in progress.
- Uploading works the same way as with the UNO — if you want the full step-by-step, see our guide: How to Upload Code in Arduino UNO.
Step 10: Open the Serial Monitor and see the networks
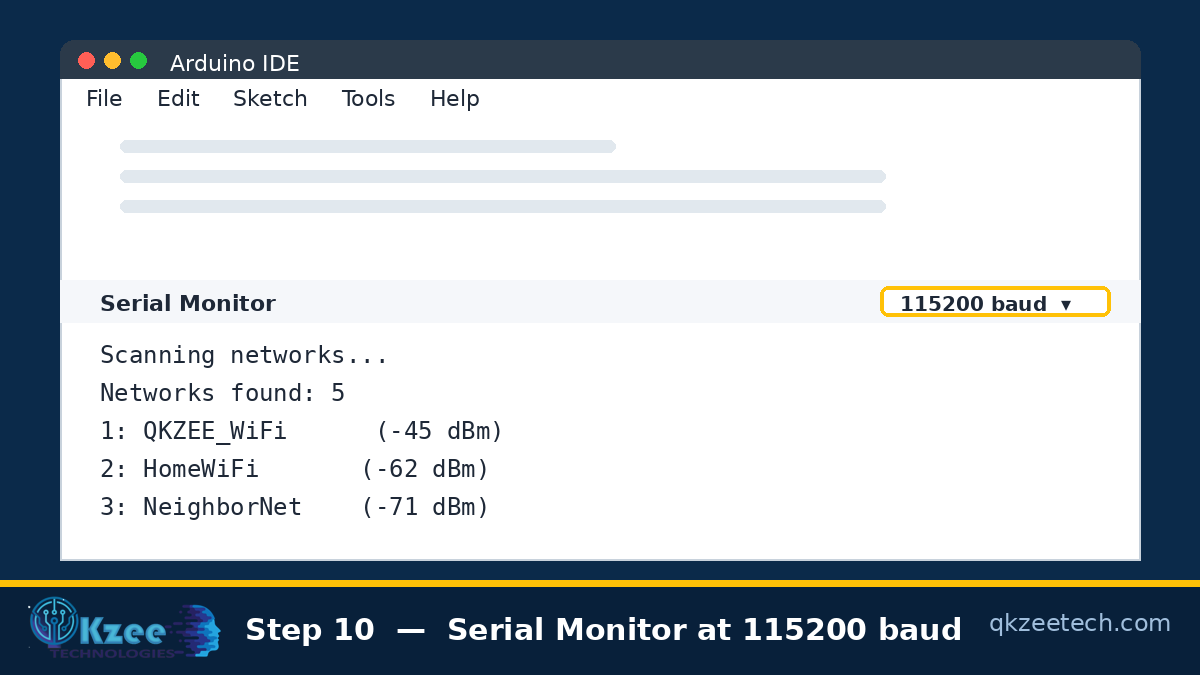
- Open Tools > Serial Monitor (or the magnifier icon at the top right).
- Set the baud rate in the Serial Monitor to 115200 — the WiFiScan sketch prints at this speed, so the monitor must match it.
- Press the EN (Enable) button on your ESP32 board to restart it.
- The Serial Monitor will show the list of WiFi networks found near your board. Your ESP32 installation is working.
Troubleshooting
- “A fatal error occurred: Failed to connect to ESP32: Timed out waiting for packet header” — the board is not in flashing/uploading mode. Hold down the BOOT button on your board, click Upload in the IDE, and release the BOOT button as soon as you see the “Connecting…” message. After “Done uploading”, press the EN button to restart the board. (Many newer boards enter flashing mode automatically, so you may never need this step.)
- “COM port not found / not available” — install the CP210x driver (for CP2102 boards) or the CH340 driver (for CH340 boards, see Step 7), try another USB port, and confirm your cable is a data cable.
- ESP32 does not appear in the Boards Manager search — the board URL in Step 2 is missing or has a typo. Open Preferences again, check the URL carefully, and restart the IDE.
- Upload succeeds but nothing appears in the Serial Monitor — the baud rate must be 115200, and press the EN button once to restart the board after uploading.
What can you build next?
With the ESP32 set up, you can build WiFi-controlled relays, Bluetooth home automation, weather stations, and IoT dashboards — the same projects our students build for their final-year projects. Everything you need — ESP32 boards, sensors, relays and displays — is available at QKZEE Technologies, Shop #20, 1st Floor, AL-KHALIL Center, Hall Road, Lahore, or online with Cash on Delivery across Pakistan.
Still stuck? We are here to help
If any step is unclear, message us on WhatsApp and we will guide you — or watch our YouTube channel for video guides and project tutorials.
FAQs
Do I need Arduino IDE installed before installing the ESP32 board?
Yes. The ESP32 board package installs inside Arduino IDE. If you have not installed the IDE yet, follow our guide: How to Download Arduino IDE.
Which board manager URL should I use for the ESP32?
Use the current official Espressif URL: https://espressif.github.io/arduino-esp32/package_esp32_index.json — this is the one this guide uses and it was verified working. Older guides use a different (raw.githubusercontent.com) URL.
Which board do I select for the 30-pin ESP32-WROOM-32 board?
Select “ESP32 Dev Board” in the board selector. For other variants, select the matching name, such as “ESP32-C3 Dev Board” or “ESP32-S3 Dev Board”.
ESP32 or ESP8266 — which one should I choose?
The ESP32 is faster, has two cores, and adds Bluetooth on top of WiFi. The ESP8266 (NodeMCU) is cheaper and WiFi-only, and is enough for simple IoT projects. Both work in Arduino IDE with the same kind of setup.
Why must the Serial Monitor be set to 115200 baud?
Because the WiFiScan example sketch prints its output at 115200 baud. The Serial Monitor must use the same speed, otherwise you will see garbled characters or nothing at all.
Can I use the ESP32 with Arduino IDE 1.8?
Yes. The same board URL and Boards Manager steps work in IDE 1.8.x (File > Preferences, then Tools > Board > Boards Manager). This guide is written for the current IDE 2.x.